Understanding the Photography Workflow
Photography is more than just pointing and shooting. A well-defined workflow can transform your raw images into captivating works of art. This page outlines the essential steps in a typical photography workflow, designed specifically for beginners. By following these steps, you can streamline your process, improve the quality of your images, and ultimately, enhance your creative expression. At Creative Canvas Studio, we believe that understanding the workflow is fundamental to achieving exceptional results. Whether you're shooting landscapes, portraits, or street photography, these guidelines will provide a solid foundation for your photographic journey.

This workflow is designed to be flexible and adaptable to your specific needs and preferences. Feel free to adjust the steps and techniques as you gain experience and discover what works best for you. The goal is to create a process that is efficient, enjoyable, and produces the results you desire.
"The best camera is the one that's with you." - Chase Jarvis
Step 1: Planning Your Shoot
Pre-Shoot Preparation
Effective planning is crucial for a successful photoshoot. It involves carefully considering various factors to ensure you capture the images you envision. Here's what to consider:
- Define Your Vision: What story do you want to tell? What mood do you want to evoke? Clearly define the purpose and concept of your photoshoot.
- Scout Locations: Visit potential shooting locations in advance to assess the lighting conditions, background elements, and potential challenges.
- Choose the Right Equipment: Select the appropriate camera, lenses, and accessories based on the type of photography you'll be doing and the specific requirements of your shoot.
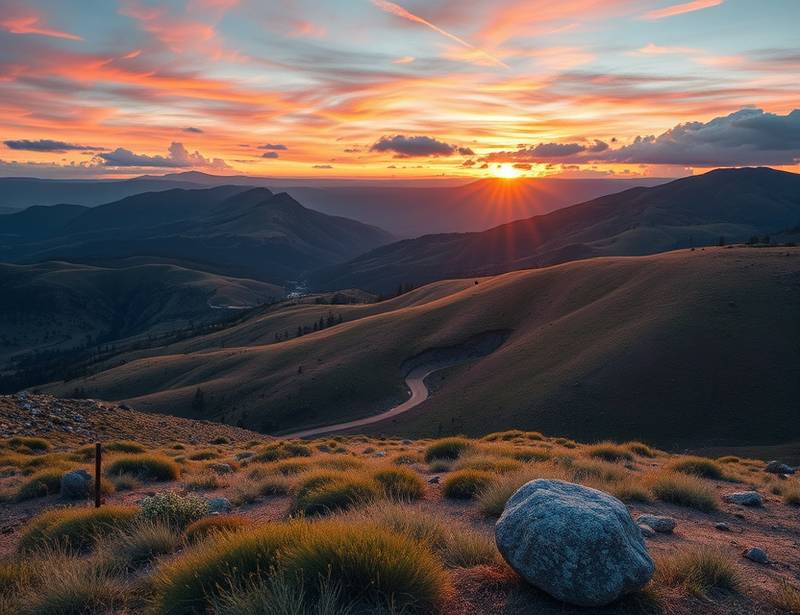
- Consider the Time of Day: The quality of light varies significantly throughout the day. Plan your shoot to take advantage of the "golden hour" (shortly after sunrise and before sunset) for warm, soft lighting.
- Gather Inspiration: Review the work of other photographers and artists to gather inspiration and refine your creative ideas.
- Check the Weather: Be aware of the weather forecast and have a backup plan in case of inclement weather.

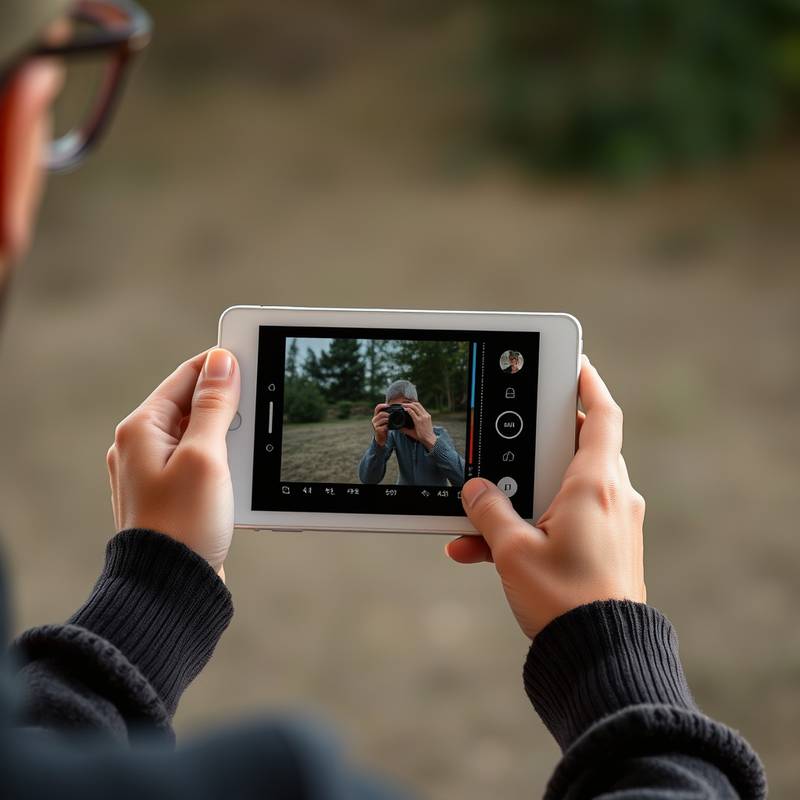
Step 2: Capturing the Image - Shooting
Camera Settings and Composition
During the shoot, focus on capturing high-quality images that align with your pre-defined vision. Pay close attention to these key elements:
- Master Camera Settings: Learn how to adjust aperture, shutter speed, and ISO to control exposure and depth of field.
- Compose Your Shots: Use techniques like the rule of thirds, leading lines, and symmetry to create visually appealing compositions.
- Focus Carefully: Ensure your subject is sharp and in focus. Use autofocus or manual focus as needed.
- Experiment with Angles: Try shooting from different angles and perspectives to add interest to your photos.
- Shoot in RAW Format: Capture images in RAW format to preserve maximum detail and flexibility for editing.
- Use Natural Light: Whenever possible, utilize natural light to create soft, flattering illumination.

Step 3: Post-Processing - Editing
Refining Your Images
Post-processing is where you can enhance your images and bring your creative vision to life. Popular editing software options include Adobe Lightroom and Adobe Photoshop. Here's a basic editing workflow:
- Import and Organize: Import your images into your chosen editing software and organize them into folders for easy access.
- Basic Adjustments: Adjust exposure, contrast, highlights, shadows, and white balance to correct any issues and enhance the overall look of your photos.
- Color Correction: Fine-tune the colors in your images to achieve the desired mood and atmosphere.
- Sharpening: Sharpen your images to bring out details and enhance clarity.
- Noise Reduction: Reduce noise in your images, especially those shot at high ISO settings.
- Retouching: Remove blemishes, distractions, or other unwanted elements from your photos.
- Creative Effects: Experiment with creative filters and effects to add a unique touch to your images.
Step 4: Sharing Your Work
Showcasing Your Photography
Once you've edited your photos, it's time to share them with the world! Consider these options:
- Social Media: Share your images on platforms like Instagram, Facebook, and Twitter to reach a wide audience.
- Online Portfolios: Create an online portfolio on sites like Behance or Dribbble to showcase your best work.
- Photography Communities: Participate in online photography communities and forums to share your photos and get feedback from other photographers.
- Prints and Exhibitions: Print your photos and exhibit them in local galleries or art shows.
- Personal Website: Create your own website to showcase your photography and build your brand.
- Photo Contests: Enter photo contests to gain recognition and potentially win prizes.
Tips for Improving Your Photography Workflow
- Invest in Education: Take photography courses, workshops, or online tutorials to learn new techniques and improve your skills.
- Stay Organized: Develop a consistent file naming and organization system to keep your photos organized and easy to find.
- Back Up Your Work: Regularly back up your photos to prevent data loss. Use a combination of local and cloud storage options.
- Learn from Your Mistakes: Analyze your photos and identify areas for improvement. Use your mistakes as learning opportunities.
- Practice Regularly: The more you practice, the better you'll become. Dedicate time each week to shoot and edit photos.
- Seek Inspiration: Surround yourself with inspiring art and photography. Visit museums, galleries, and online resources to fuel your creativity.